Layouts & Columns
| Date Created | October 17, 2018 |
|---|---|
| Process Name | Layouts and Columns |
| Version | B |
| Procedure Number | 0002 |
| Process Owner | Questica Users |
| Date of Last Update | April 21, 2023 |
| Purpose | Utilizing the layout feature to add columns and move them around to fit your reporting needs and reorganize the group by feature. |
|---|---|
| Scope | Scope of this document pertains to Sonoma State University’s version of Questica Budgeting software |
| Document Management | University Budget and Resource Planning retains all copies of Business Process Guides (BPG) and handles distribution. |
| Roles and Responsibilities | University Budget and Resource Planning retains responsibility for the accuracy of the information within Questica Budgeting software. |
Process
STEP
SCREENSHOT
1.This process can be done on any screen that layouts are an option in the top right screen.

2. To adjust the layout or add columns to any screen, select the layout button at the top right of the screen.

3. A grid layout box should appear.
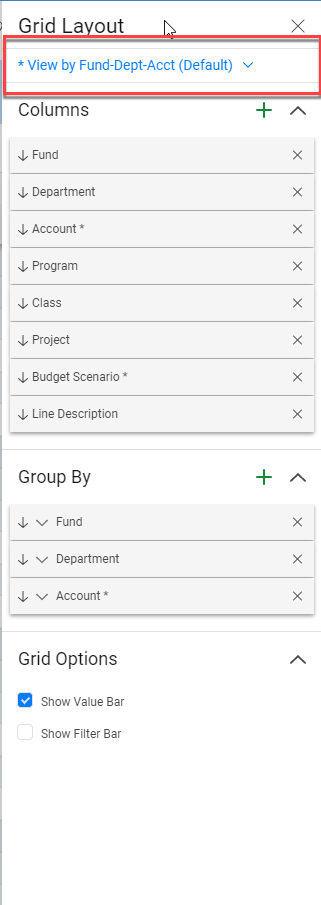
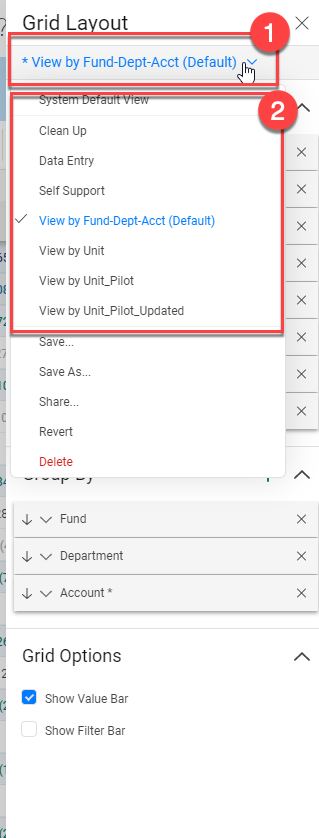
4. To access any saved layouts you have, select the dropdown right below Grid Layout.

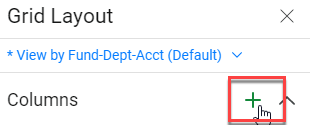
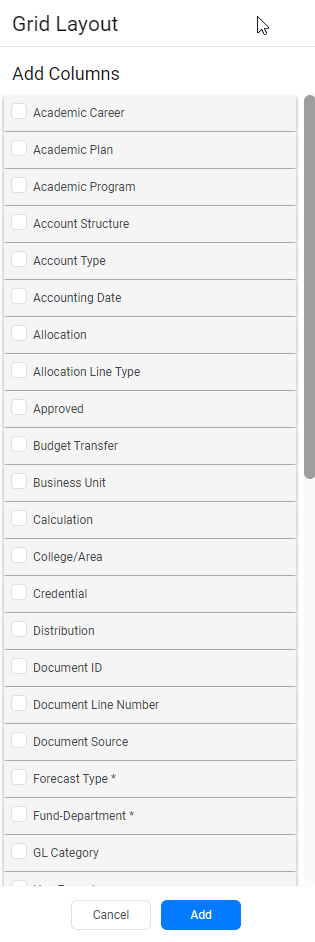
5. To add any columns to your report, select the green Add button next to the Column’s header.
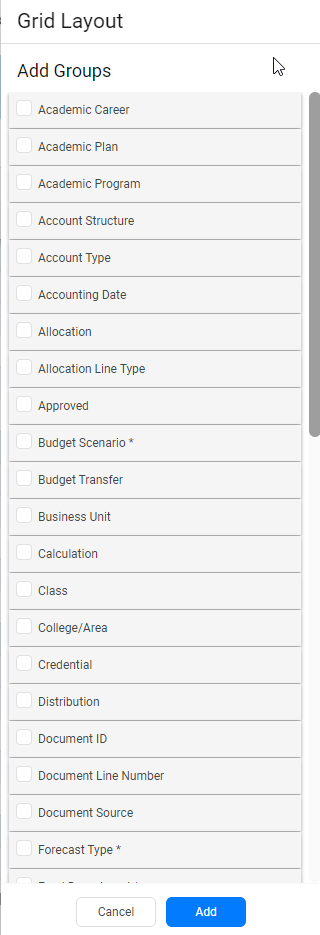
6. Select any columns you would like to add to your report, then click add at the bottom of the menu.
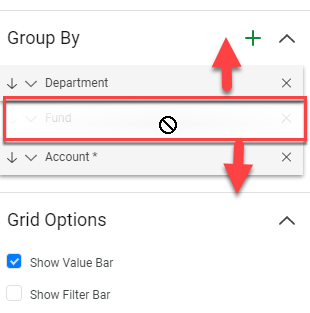
7. You can also click and drag any columns to change the order they appear on your layout.
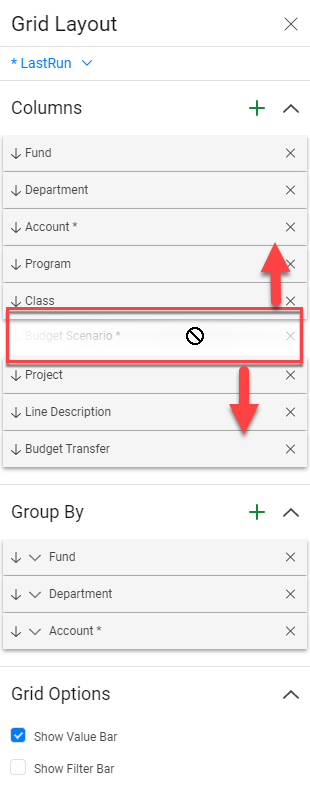
8. You can add or delete any group by fields, by clicking the Add button next to the Group By title.
Note- “Group By” is the order the information appears on your report. The second screenshot is an example of the Fund-Department-Account Group By display.
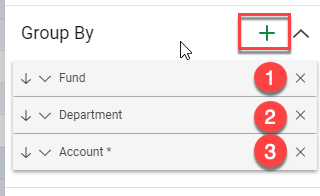
9. Select any fields you would like to add to your group by format, then click add at the bottom of the menu.
10. You can also click and drag any group by fields to change the order they appear on your layout.
11. To save, any layout you create, select the dropdown arrow at the top of the Grid Layout menu (1), then select Save As (2).
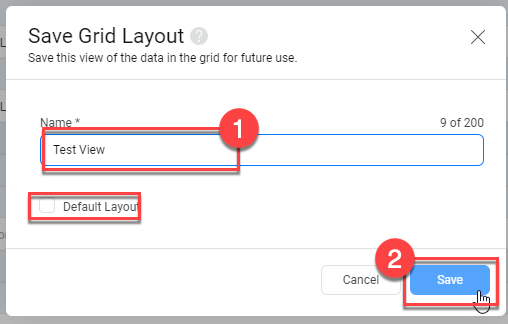
12. Title your layout (1), and if wanted, check the box to save as your default, then click Save (2).
| Version | B |
|---|---|
| Revision Date | April 21, 2023 |
| Description of Change Implemented | Updated processes and screenshots |
| Completed By | University Budget and Resource Planning |

